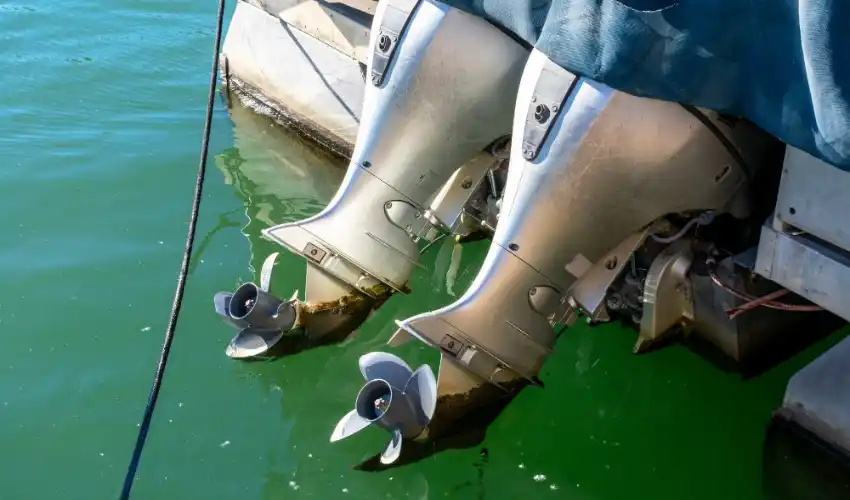
Winterizing your outboard motor is an essential maintenance step to ensure it remains in top condition during the off-season. Proper winterization protects the engine from damage caused by freezing temperatures, corrosion, and fuel degradation. Whether you own a small fishing boat or a larger vessel, following the right steps can extend the life of your outboard motor and save you costly repairs. In this article, we’ll guide you through the key steps to winterize your outboard motor for long-term storage.
Why Winterize Your Outboard Motor?
When temperatures drop, water left inside the engine or cooling system can freeze and expand, causing cracks or other damage. Fuel that remains in the motor can degrade over time, leading to clogged fuel lines and carburetors. Additionally, moisture and condensation can cause corrosion inside the engine. Winterizing your outboard motor helps prevent these issues, ensuring a smooth start when you’re ready to get back on the water.
Step 1: Read the Owner’s Manual
Before starting the winterization process, it’s important to consult your outboard motor owner’s manual. Manufacturers often provide specific recommendations and procedures tailored to your engine model. Following these guidelines will help you avoid mistakes and ensure proper care.
Step 2: Flush the Cooling System
Salt, dirt, and debris can accumulate in your motor’s cooling system during the boating season. Flushing the system with fresh water helps remove these contaminants and prevents corrosion. Use a flushing kit or earmuffs to connect a garden hose to the water intake ports. Run the motor at a low idle until you see a steady flow of water exiting the exhaust. This usually takes about 10 minutes. Flushing the system thoroughly helps protect the engine’s internal components during storage.
Step 3: Drain Fuel or Add Stabilizer
Old fuel left in the tank and carburetor can degrade and cause gum deposits or varnish buildup, which clogs the fuel system. The best option is to drain the fuel completely from the tank, fuel lines, and carburetor. If draining isn’t feasible, add a high-quality fuel stabilizer to the tank and run the engine for several minutes to circulate the stabilizer throughout the fuel system. This prevents fuel breakdown and keeps the engine ready for next season.
Step 4: Fog the Engine
Fogging the engine protects the internal metal parts from rust and corrosion during storage. To fog the engine, remove the spark plug boots and spray a fogging oil into the carburetor or intake manifold while the engine is running at a low idle. The oil coats the internal surfaces, forming a protective barrier. After fogging, remove the spark plugs, spray a small amount of oil into each cylinder, and then reinstall the plugs. This step is crucial to keep the engine internals lubricated and rust-free.
Step 5: Change the Engine Oil and Gearcase Lubricant
If your outboard motor uses a four-stroke engine, changing the engine oil before storage is vital to prevent contaminants from sitting in the engine over winter. Warm up the engine, then drain and replace the oil with fresh, high-quality oil recommended by the manufacturer. Also, change the gearcase (lower unit) lubricant to avoid water contamination that can cause internal damage. Inspect the drained lubricant for any metal shavings, which could indicate wear or damage.
Step 6: Remove the Battery
Disconnect and remove the battery from your outboard motor. Clean the terminals to prevent corrosion and store the battery in a cool, dry place. During winter, periodically charge the battery using a trickle charger or battery maintainer to keep it in good condition. Proper battery care ensures it will be ready to start your motor next season.
Step 7: Clean and Inspect the Motor
Before storing the motor, give it a thorough cleaning to remove salt, dirt, and grime. Use fresh water and a mild detergent, then dry the engine completely. Inspect the propeller for damage and remove any fishing line or debris wrapped around the shaft. Lubricate moving parts, such as the throttle and shift cables, with marine grease to prevent corrosion and ensure smooth operation.
Step 8: Store in a Dry, Covered Area
Store your outboard motor in a dry, well-ventilated, and covered area to protect it from moisture, dust, and extreme temperatures. If possible, store the motor upright to prevent oil or fuel leaks. Using a motor cover or tarp helps keep dust and pests away. Avoid storing the motor directly on the ground to prevent exposure to cold and damp conditions.
Additional Tips for Winter Storage
- Check for leaks: Inspect fuel lines, seals, and gaskets for leaks or cracks before storage.
- Use a motor stand: A sturdy motor stand keeps the engine stable and makes maintenance easier.
- Regular inspections: Check the motor periodically during winter storage for signs of moisture or pests.
- Professional service: Consider having a professional marine mechanic perform a thorough winterization service if you’re unsure about any step.
Conclusion
Winterizing your outboard motor is a straightforward process that pays off with a reliable, trouble-free start in spring. By flushing the cooling system, treating the fuel, fogging the engine, changing oils, and properly storing the motor, you’ll protect your investment and enjoy many seasons of boating. Remember to follow your owner’s manual and consider professional help if needed. With proper care, your outboard motor will be ready to hit the water as soon as the weather warms up.
